
How to… Make inverted pleats
Our All the Cute Skirts pattern includes inverted pleats as a feature of the pleated skirt.
These neat pleats create a smart look in mid-weight fabric but also work well in lighter-weight fabrics which press easily like cotton lawn or poplin and satins and crepes for a modern and feminine look.


Some top tips for perfect pleats
1 Mark your pleats by snipping small notches into the top edge of the fabric.
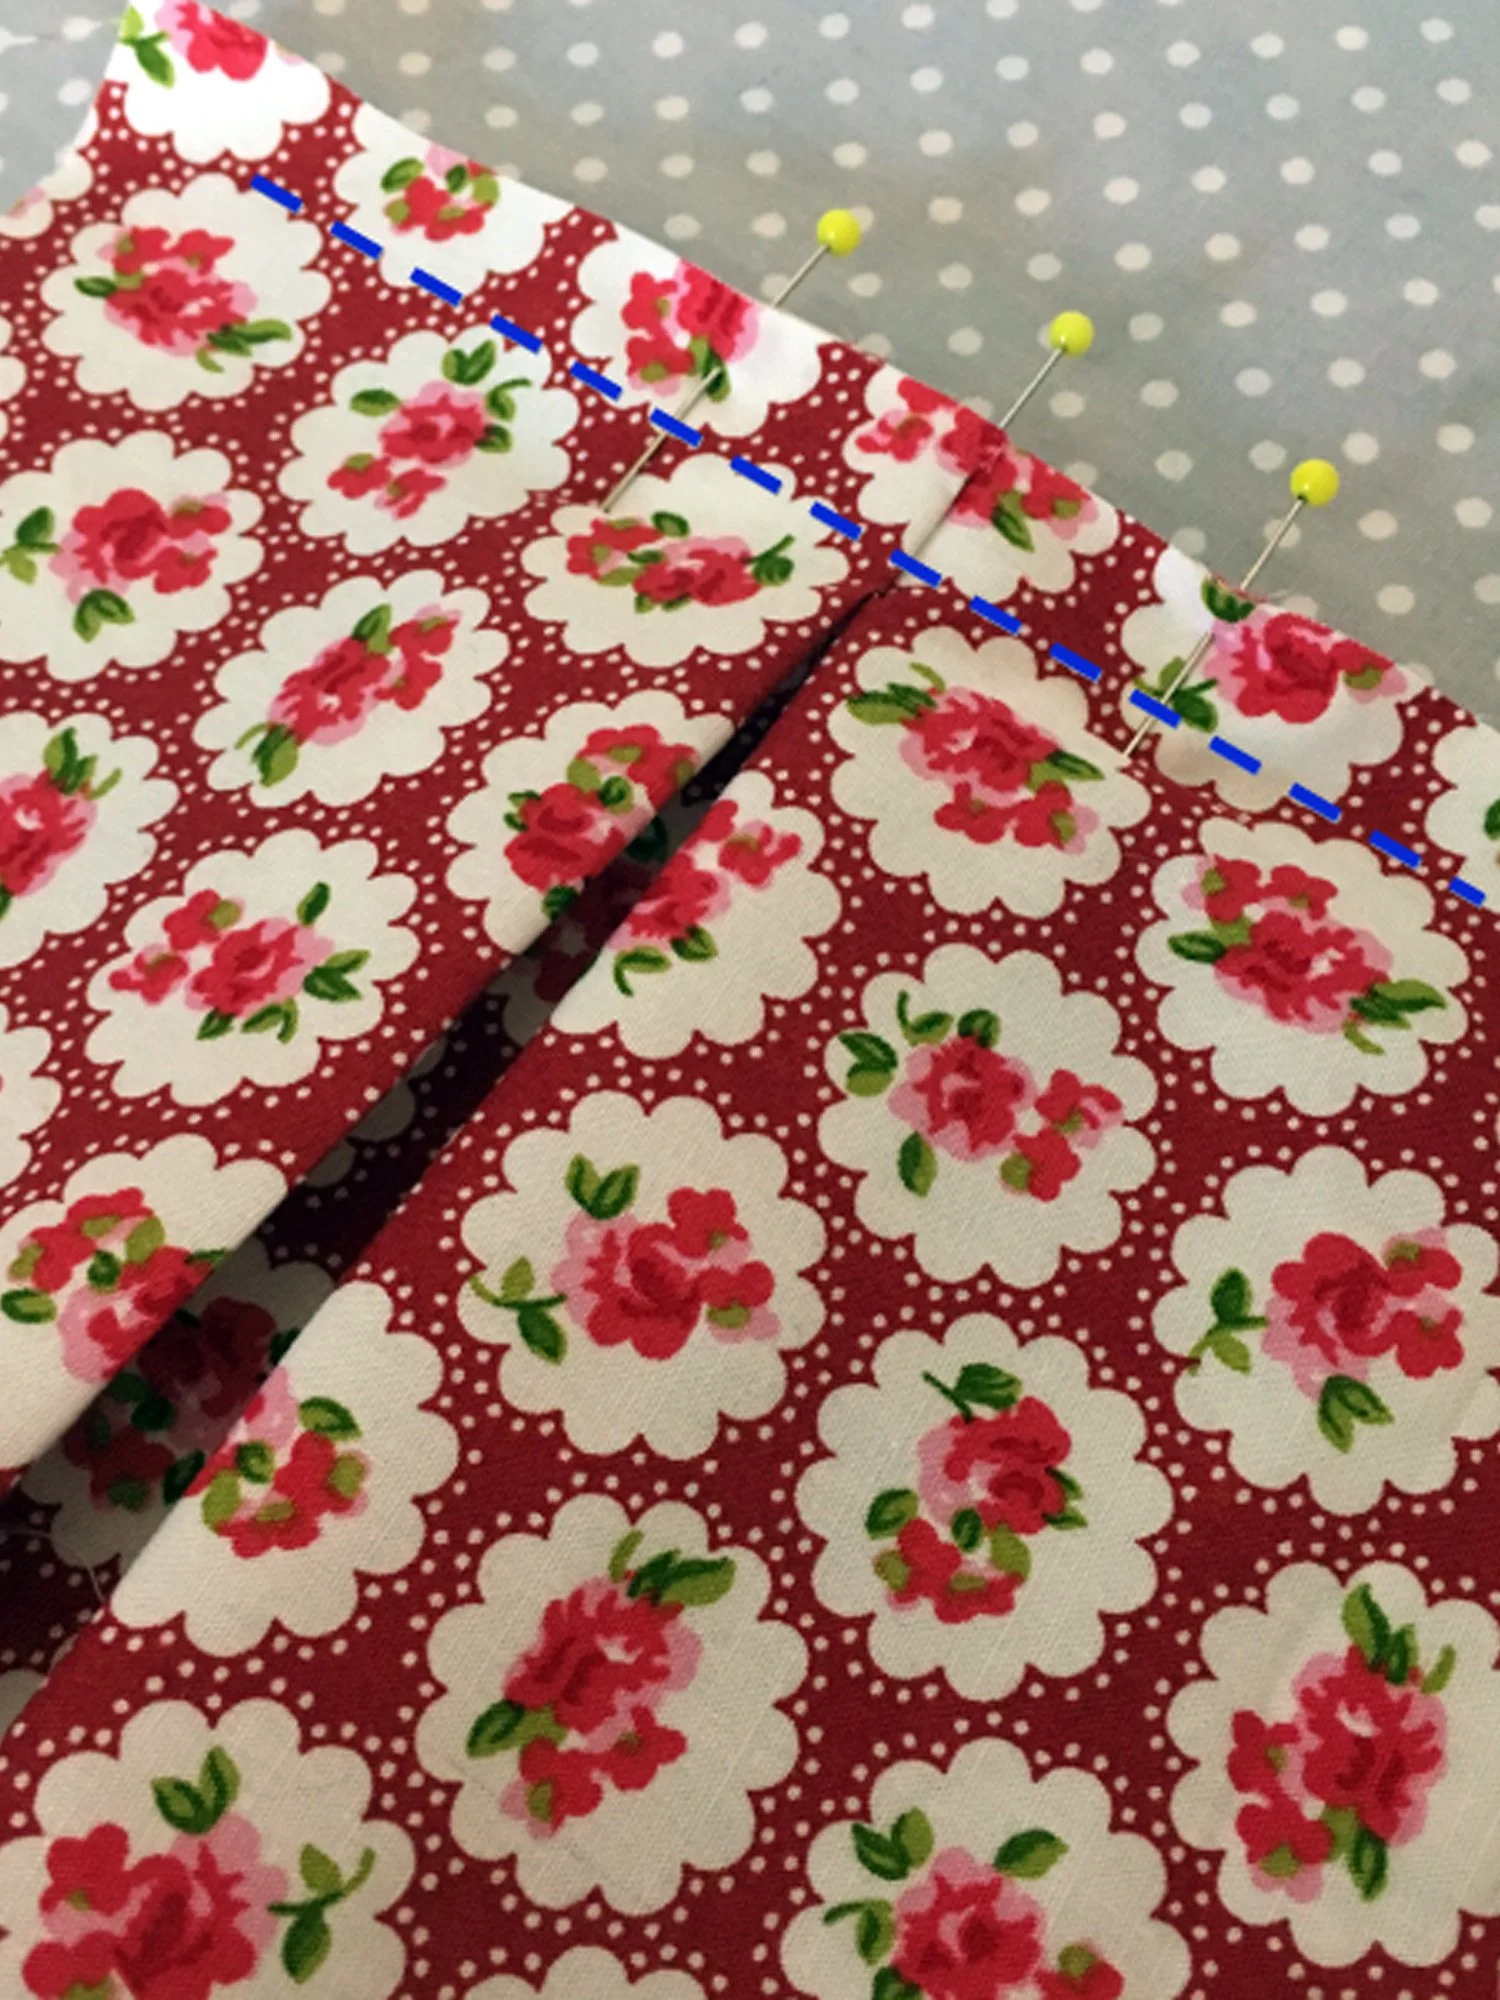
2 Bring the notches together to create a fold and pin at the notches with the pinhead sticking out.


3 Press the fold lightly at the top only.
4 If your fabric is lightweight or wiggly or you want to match a pattern exactly, you may wish to lightly press the top 10cm of the fold and baste, using a long machine stitch, down from the notches stopping about 10cm from the top edge. This will hold the pleat in place until you press it.


5 Next, flatten the pleat out ensuring the folded fabric is evenly spread each side of the pin/notches. Use the pressed fold to help you align this.
6 Pin the pleats in place at the top edges.


7 Now, using a long machine stitch, baste the pleats in place, stitching 1cm in from the top edge.
8 Use the nose of the iron to press just the first 2 – 3cm of the pleat in place for a neat but not flattened finish. Take out any vertical basting stitching to release the pleats and wiggle the nose of the iron into the pleat to press out any foldline marks.


Pleats please!
Practice perfecting your pleats with our all the cute skirts pattern.