
How to… choose and use interfacing
Interfacing comes in various weights and structures and it is important to use the correct interfacing for your fabric type and project.
Adding interfacing adds weight and stability to fabrics to make them easier to sew or create a professional finish on specific areas like collars or waistbands.
Interfacing is a fusible layer of fabric which is attached to your main fabric, usually with a heat activated glue.
Get to know your interfacings - keep a stock of each so you can experiment on new fabrics
How is it used?
Interfacing can be used to alter the weight of a fabric, for instance on a facing, to help keep it on the inside of a neckline or waistline.
It can be added to stop a fabric from stretching or becoming misshapen with washing and wear, for instance in a waistband.
It can make a flimsy fabric easier to press and sew, for instance on a button placket.
It can be used to help hold details like pleats in place
It can be used to strengthen the fabric, giving support to embroidery, buttons and trims.
Adding interfacing to the correct areas of a projects can result in a more professional finish in your projects by adding support and structure to fabrics where you need it.
However using the wrong weight or type of interfacing or using it in the places can prevent the fabric stretching where it needs to and make the garment feel rigid and uncomfortable. Poorly applied interfacing can cause puckers in the fabric.
SO let’s take a look at how to choose and apply interfacing…
I use four main types of interfacing in my dress making projects, which I've found suitable for most dressmaking and bag making projects.
H609 Lightweight Fusible knit interfacing
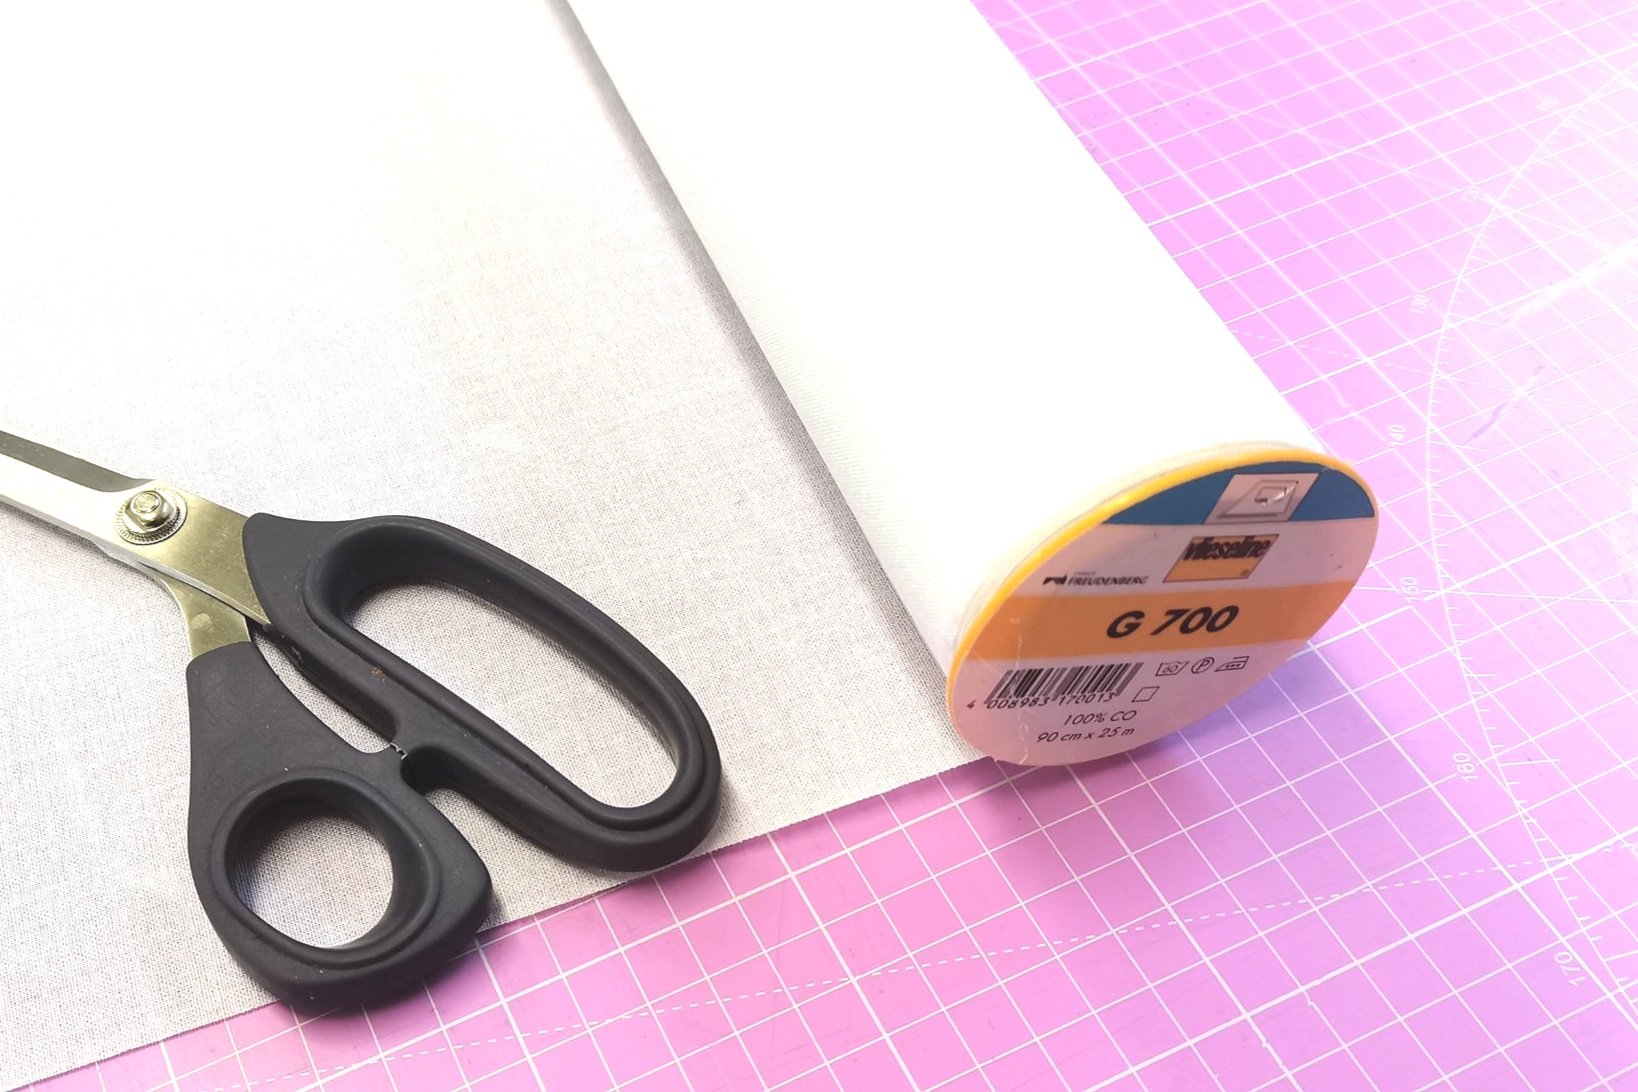
all available from Crafty Sew and So
All these products are by Vlieseline. They are experts in interfacings and can always be relied on for quality. I would strongly discourage using lower quality unbranded interfacings for this reason.
There are 2 common types - fusible or sew-in (which is also referred to as interlining)
There are 3 structures - non-woven, woven and knit
There are different weights - light, medium, heavy weight
Interfacing usually comes in black (or charcoal) or white
When you buy interfacing, you need to decide:
Should you buy sew-in or fusible interfacing?
Do you need woven, non-woven or knit interfacing?
What weight of interfacing should you buy (light weight, medium weight, heavy weight)?
Which colour interfacing is most appropriate?
It is important to choose the correct type of interfacing for your garment; if you are using a pattern, it will normally indicate if interfacing is required and give guidance as to what type you need.
Fusible or Non-fusible?
Fusible interfacing is easy to use and when applied correctly, produces a great finish. It has an adhesive on one side which bonds permanently with the fabric when heat is applied. Fusible interfacing is suitable for most projects.
However, for some types of fabrics like very textured fabrics where the glue will not bond easily, fabrics with a napp, where the pile will get crushed if heat and pressure is applied, fabrics which may melt easily or fabrics with an open weave where the glue may seep through, sew-in interfacing is more suitable. This is sewn on to the main fabric inside the seam allowances. Sew-in interfacing can also result in a more natural drape as the fabric and interfcaing can move independently, but it is harder to use for beginners. Make it easier by using a temporary adhesive like a fabric spray glue.

Always use a pressing cloth when applying fusible interfacing!
Woven, non-woven or knit?
Non-woven interfacing is made by bonding fibres together. It has no grain so you can cut it in any direction. It won’t fray. It is important to choose a lighter weight than your fabric as applying too heavy a weight can make garments too rigid. Using too much heat or steam can create a bubbly effect on the outer fabric layer it is fused to.
Woven interfacing is a woven fabric, usinaly a cotton lawn or muslin, which, once fused onto the outer fabric, strengthens, adds weight and stiffens the fabric whilst retaining the original properties of the fabric. To make sure the two layers of fabric work together properly you must cut the interfacing pieces following the grainlines on the pattern pieces.
Knit interfacing is made by knitting the fibres together, and so it has an amount of stretch in it.
However, I often prefer to use lightweight non-woven interfacing on jersey garments as this has some stretch but limits the fabric stretching out whilst it is being sewn, adding a little weight without weighing down or changing the overall behaviour of the fabric.
I use lightweight non-woven interfacing on the neckline facing of the Cosy Jersey Dress to add weight and prevent the neckline stretching out with wear.

Lightweight interfacing applied to stretch jersey fabric on a neckline facing
What weight should I use?
The weight of the interfacing should generally be the same or a bit lighter than the fabric. Using a heavier weight interfacing than the fabric will mean the interfacing adds an unnatural structure to the finished item. In a garment this isn’t usually desirable but in homewares, bags and accessories this can produce some great effects!
As well as matching the interfacing to the weight of the fabric also consider the type of item you’re making. For instance, you might be making a sweatshirt out of very heavy knit fabric, perhaps you would think you need to use heavy interfacing to match? If you only want to lightly support certain areas without adding bulk, you may only need a lightweight interfacing. In this situation it's best to do a sample of the interfacing on your fabric and check you're happy with the finished feel and drape of your fabrics.
Below is an example of Viscose Challis fabric which is a very lightweight fabric with a lot of drape with different interfacings applied.


How to Apply Interfacing
The first step is to identify which side of the interfacing has the adhesive on it. The adhesive side normally has a slightly bobbly, raised feel, and usually you can see a slight shininess from the glue.
If your fabric is very similar on the back and front you may want to mark the wrong side with a heat erasable pen until you have applied the interfacing.
Block fusing
If you have large areas to interface it may be easier to apply the interfacing to the whole of the fabric before cutting you pattern pieces out.
If you are working with small pieces that need interfacing, especially when using lightweight interfacing, you can cut interfacing to roughly the shape of the pattern piece, then fuse this on, then cut the necessary pattern pieces from the bonded fabric and interfacing together.
For woven interfacing this isn’t so easy as you have the added complication of having to match up the grain of the interfacing with the grain of the fabric.
If you can block fuse do as this saves time and makes cutting sheer, wriggly fabrics a lot easier.
Test it
Before you apply interfacing to your main fabric, do a test using a scrap piece of fabric and interfacing. This will let you check that the weight of the interfacing is suitable and that it results in the right amount of shaping to the garment. If you find the end result is too “stiff”, you should try a lighter weight interfacing; if the result is too flimsy, try a heavier weight.
Apply to the wrong side of your fabric
Take your main fabric pieces and interfacing pieces to the ironing board. Place the main fabric wrong side up on the ironing board; and then place the fusible interfacing on top, with the adhesive side facing down on to the wrong side of the main fabric.
Cover with a sheer damp pressing cloth and press the iron on to this.
Vilene Interfacings usually have pressing guidance information printed on the edge of the interfacing, follow these for the best result.

When applying interfacing remember to press not glide the iron. Press and hold, then lift the iron to move it to the next position, then repeat.
Once finished, try and lift a small corner of the interfacing to check it has adhered properly. If not, repeat. If the interfacing has bonded well to the fabric, allow to cool and set fully before moving – the interfacing may be reshaped or distorted if you move it while it’s still warm.
Use a pressing cloth
Never skip this essential step. Not only does it protect your fabric from excessive heat but it also helps prevent getting any of the adhesive glue on to your iron plate! You may also wish to place a layer of scrap fabric underneath the main fabric, in between the fabric and the ironing board, to prevent any leaks on to your ironing board cover.
So I hope I have demystified applying interfacing a little! Do take time to appreciate the difference using a little bit in the right place makes to your next sewing project!