
How to… Insert an invisible zip
There are literally hundreds of tutorials to guide you through the process of inserting an invisible zip (or concealed zip, as they are sometimes known). I’m going to show you the easiest way to insert an invisible zip.
Invisible zips are my absolute favorite! With this ultimate guide you can’t fail to create a fantastic professional finish!
First let's take a look at the invisible zip…
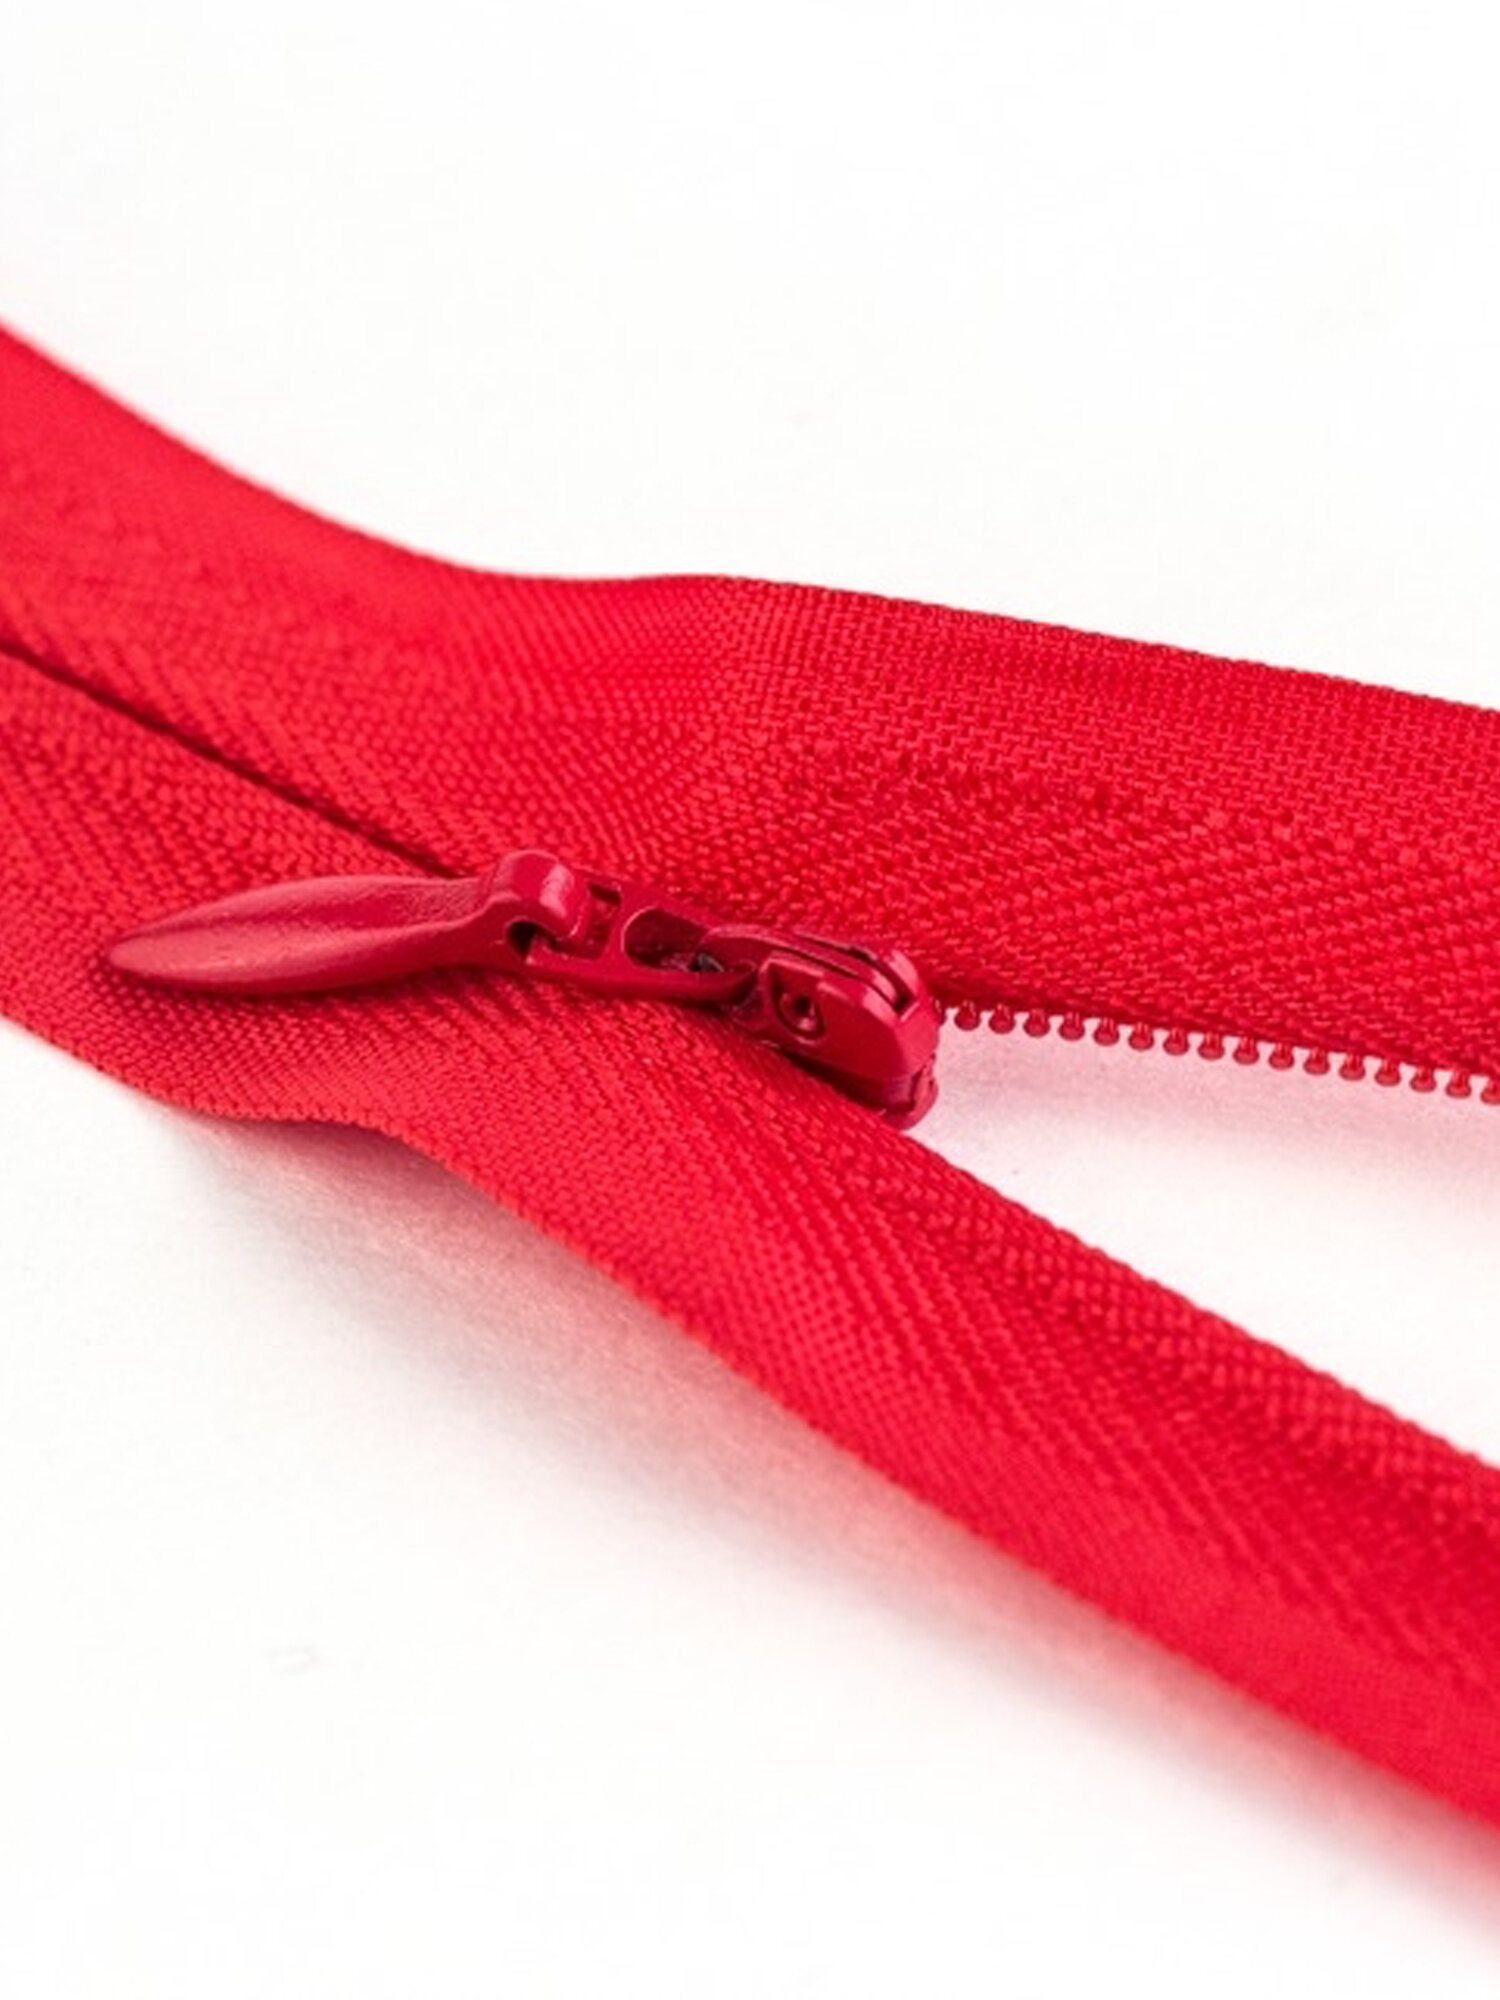

You might notice this zip looks a bit different to a standard zip. It is basically a regular zip reversed, so the zip pull is on the flatter side not on the teeth side. The zip is inserted so that there are no top stitches visible on the outside of the garment and when closed the fastening should look like a seam.
The ultimate invisible zip tutorial
For a super smooth finish you’re going to want to insert the zip into an open seam – do not join the seam first.
Do finish the raw edges to stop them fraying before inserting the zip.
1. First iron your zip (yes, that’s right!)
And as long as you’ve invested in a good quality zip there is very little chance of it melting. It's worth investing – life is too short to be wasting time with cheap zips! Always look for the YKK mark on the hanging tag or embossed into the zip pull as this an approved industry standard.

With the iron on a medium heat, use the nose of the iron to press the coils towards the zip opening. When the zip is pressed the two sides of the zip tape should come together.

2. Place one side of the zip tape along the raw edge of the garment opening aligning the top end with the top raw edge of the fabric at the neckline/waistline/top edge and pin in place.

3. Either hand tack or machine baste the zip to the garment, stitching roughly along the centre of the zip tape. Stitch until the zip stopper will not allow you to stitch any further.
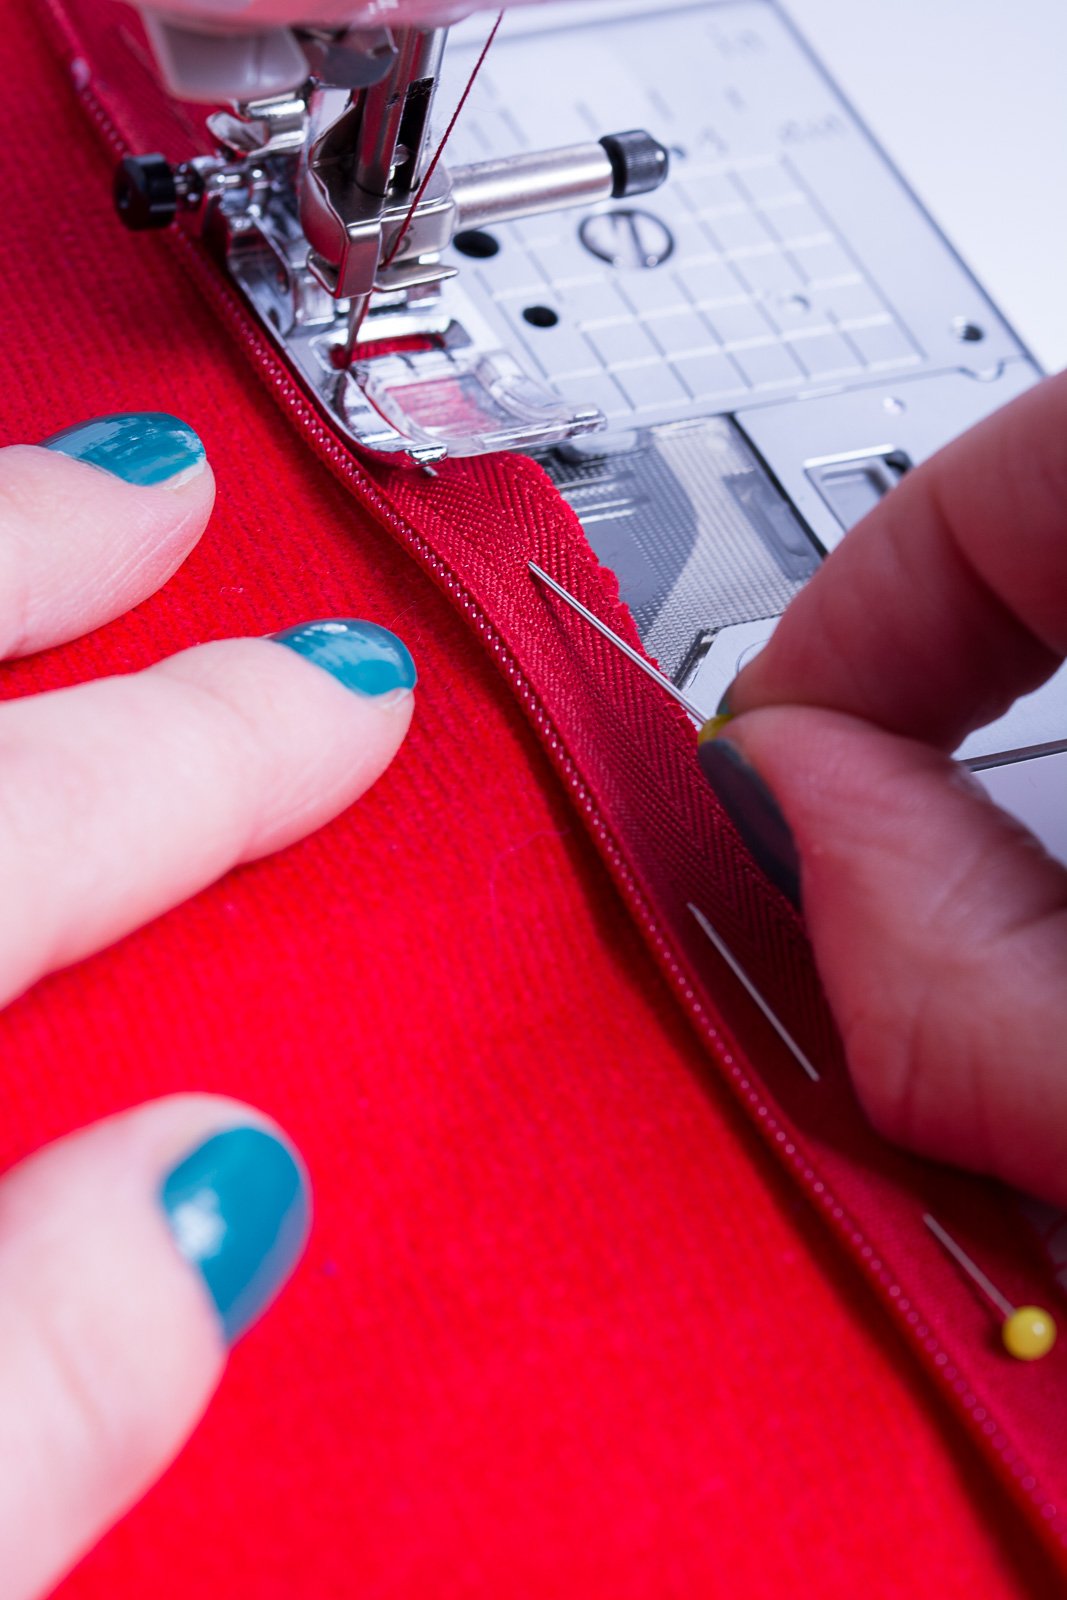
4. Now change to an invisible zip foot and, positioning the zip coil into one of the grooves on the foot, stitch the zip in place close to the teeth.

5. Open the zip and, making sure that it is not twisted so will close correctly when inserted, position the loose side of the zip tape on the other raw edge of the garment opening. Pin in place and do up the zip to check.

6. Repeat steps 3 to 5 for the other side of the zip.
7. To join the seam below the zip, change to the regular zip foot and position the needle so it hits the last stitch at the bottom of the zip insertion. You may need to move your needle position over to the right for this to be as accurate as possible. Using a pin to hold the seam allowances together and pushing the pin head right up to where you will start your stitching really helps to keep everything flat and visible!

Hold the loose zip tape away from your stitching line and the seam allowance, starting with a few back stitches, stitch down from the end of the zip insertion to about 5cm past the end of the zip tape.

8. Change back to a regular sewing foot to complete the rest of the seam. This will help to keep the seam allowances consistent. Open up your fabric, give your zip a good press, and stand back to admire your beautiful invisible zip!
And that’s it! If you’ve enjoyed this tutorial and want others to experience the pain-free pleasure of perfect invisible zip insertion, share your invisible zip pictures on Instagram with #MHWinvisibleziptutorial

The Ready to Party Dress
Invisible zips are the perfect fastening for close fitting eveningwear styles