
Sewing Instructions
So you’ve made your Simple Top toile.
Let’s check how it fits…
Assessing the fit on your body is an important step in making any garment. Often this is overlooked or left until the final stages of construction when seams have been sealed by hems or edges have been overlocked together. I encourage you to try on your toile or even your final garment regularly during the making process to catch any fit issues in the flow whilst you can easily correct them.
SO for the simple top, we will fit the toile before putting the sleeves in to make sure the shoulders fit well and there are no major changes needed here.
How to try on a toile and assess the fit:
✓ Put on the undergarments you'll typically wear with this type of garment
✓ Wear shoes with your usual heel height
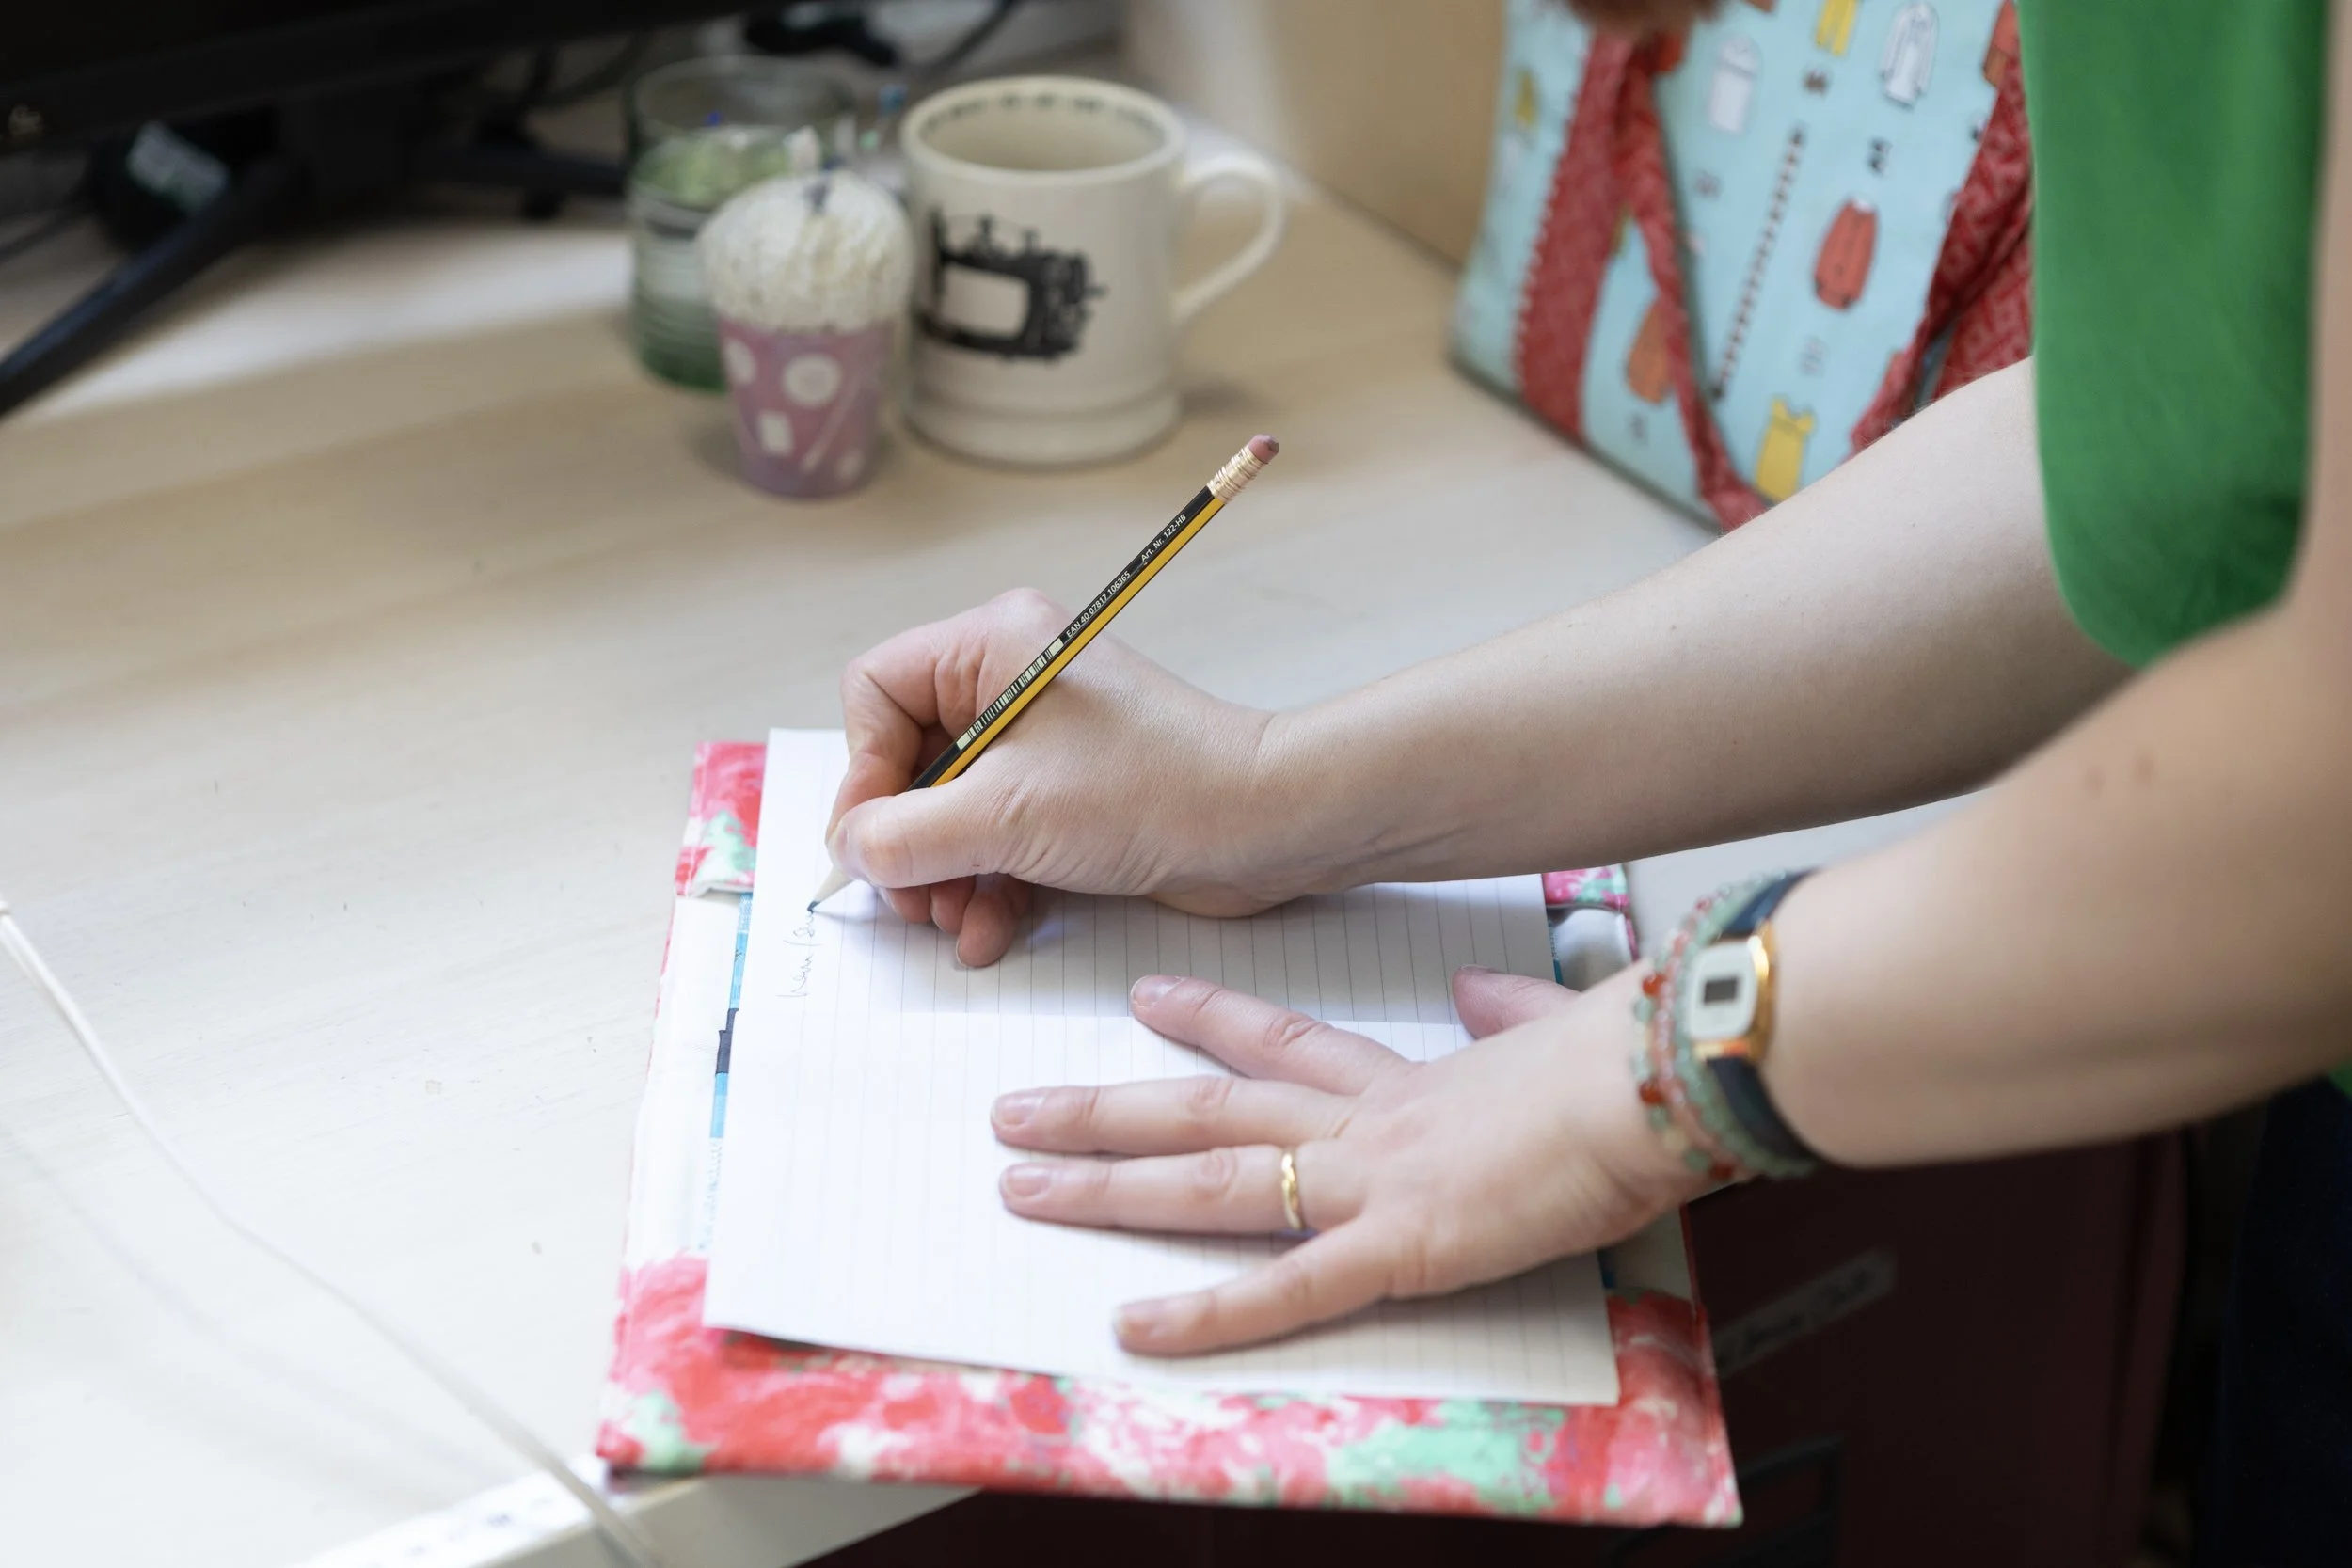
✓ Have a notebook ready for notes
Assess the fit in the mirror and also take photos
Taking photos is invaluable for identifying fit issues you might miss in the mirror. Even with a fitting partner, photos provide a reference you can study later in the fitting process.
Document the Initial Fit
Take reference photos from multiple angles:
• Front view
• Back view
• Both side views
• Photos or video while moving and sitting
Photography tips:
• Position camera at waist height
• Keep camera parallel to your body
• Use a tripod or stable surface
• Set up continuous shooting mode if available or use a photo timer app
• Save photos for future reference
Assess the Static Fit
Examine and note:
• Are the darts pointing to the Apex?
• Areas of pulling or strain
• Visible drag lines
• Excess fabric
• Gaping at edges
• Uneven hemlines
• Balance of the garment- position of shoulder seams
Test Movement and Comfort
Perform these actions and note any restrictions:
• Reach forward
• Lift arms above head
• Bend at waist
• Sit down
• Stand up
• Walk normally
Wear your toile to do normal everyday tasks like making a cuppa!
Document Your Observations
Make a note about any of these observations in your notebook, and directly onto the toile:
• Mark all fit issues
• Note where movement is restricted
• Record any discomfort
• Focus on identifying problems and noting any drag lines, pulling or pooling fabric at this stage
Get Additional Feedback
Have someone else examine the fit:
• Ask them to look for pulling or folding
• Note where the garment appears unbalanced
• Request they observe as you move
• Consider booking a professional fitting consultation for complex issues
Now you have a sleeveless top that fits, you can use this to draft your first pattern!
Find instructions to make a cami top using your Simple Top Block in Issue 161 of Love Sewing magazine!
Buy your copy HERE!
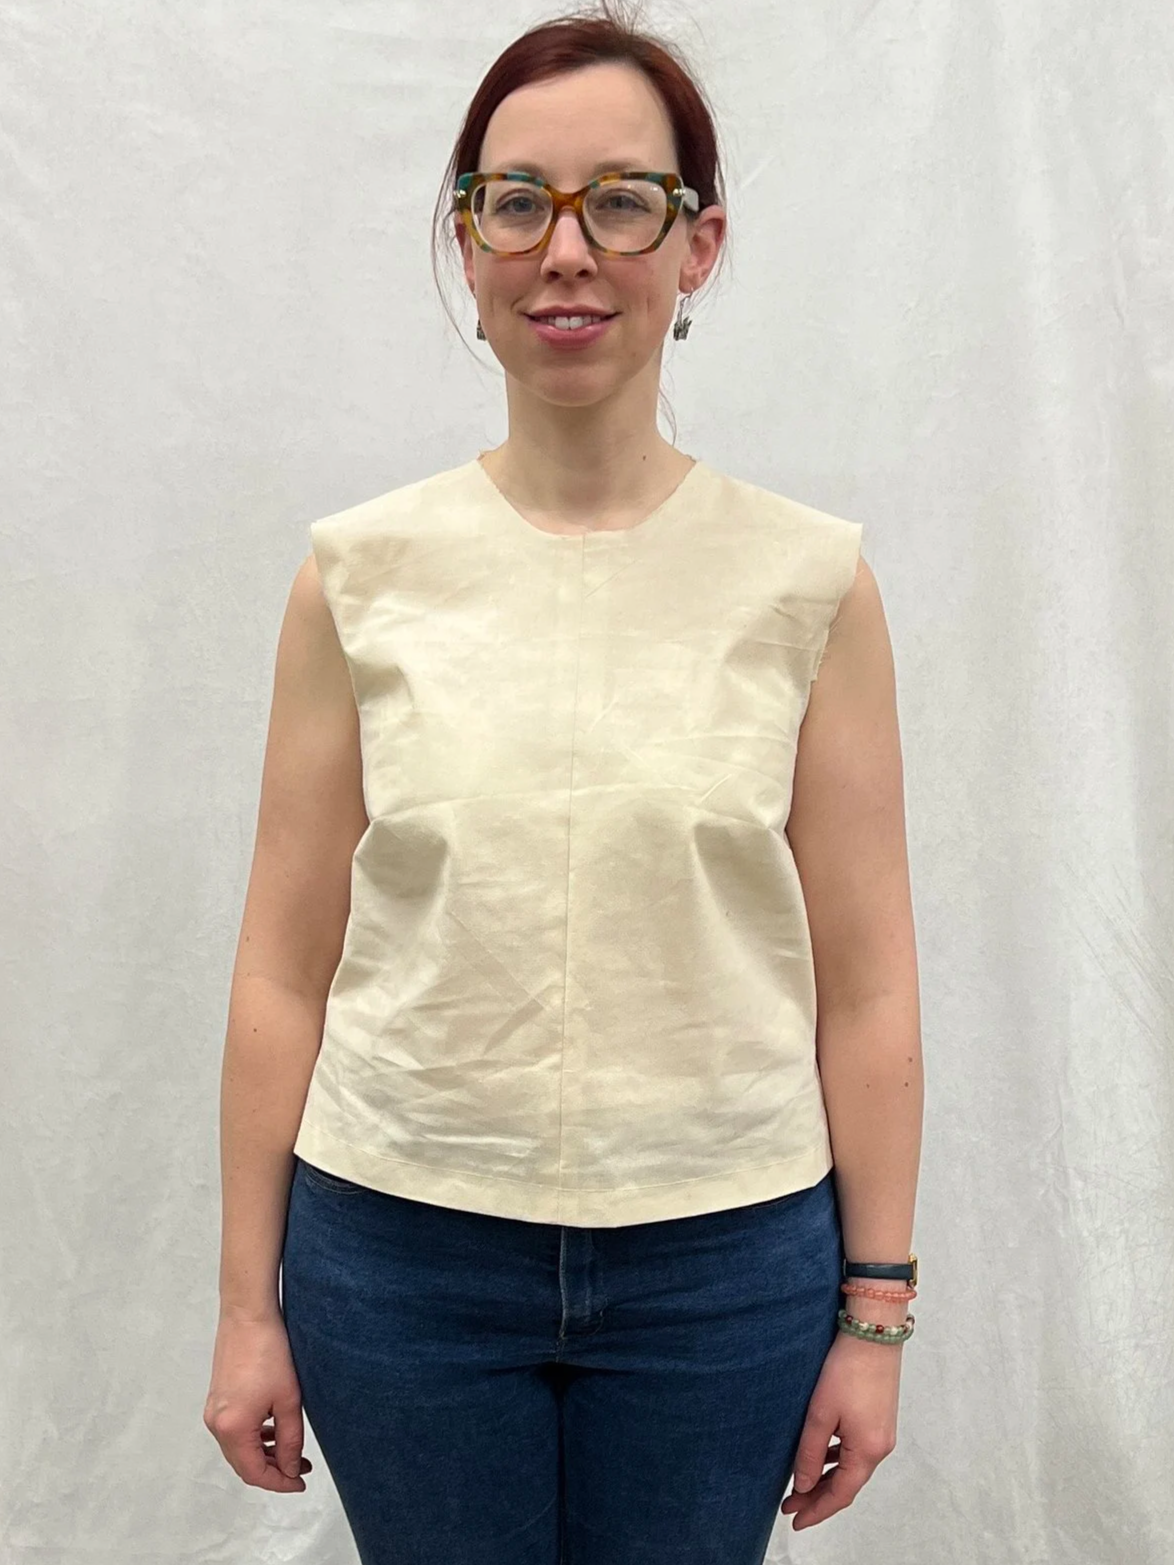
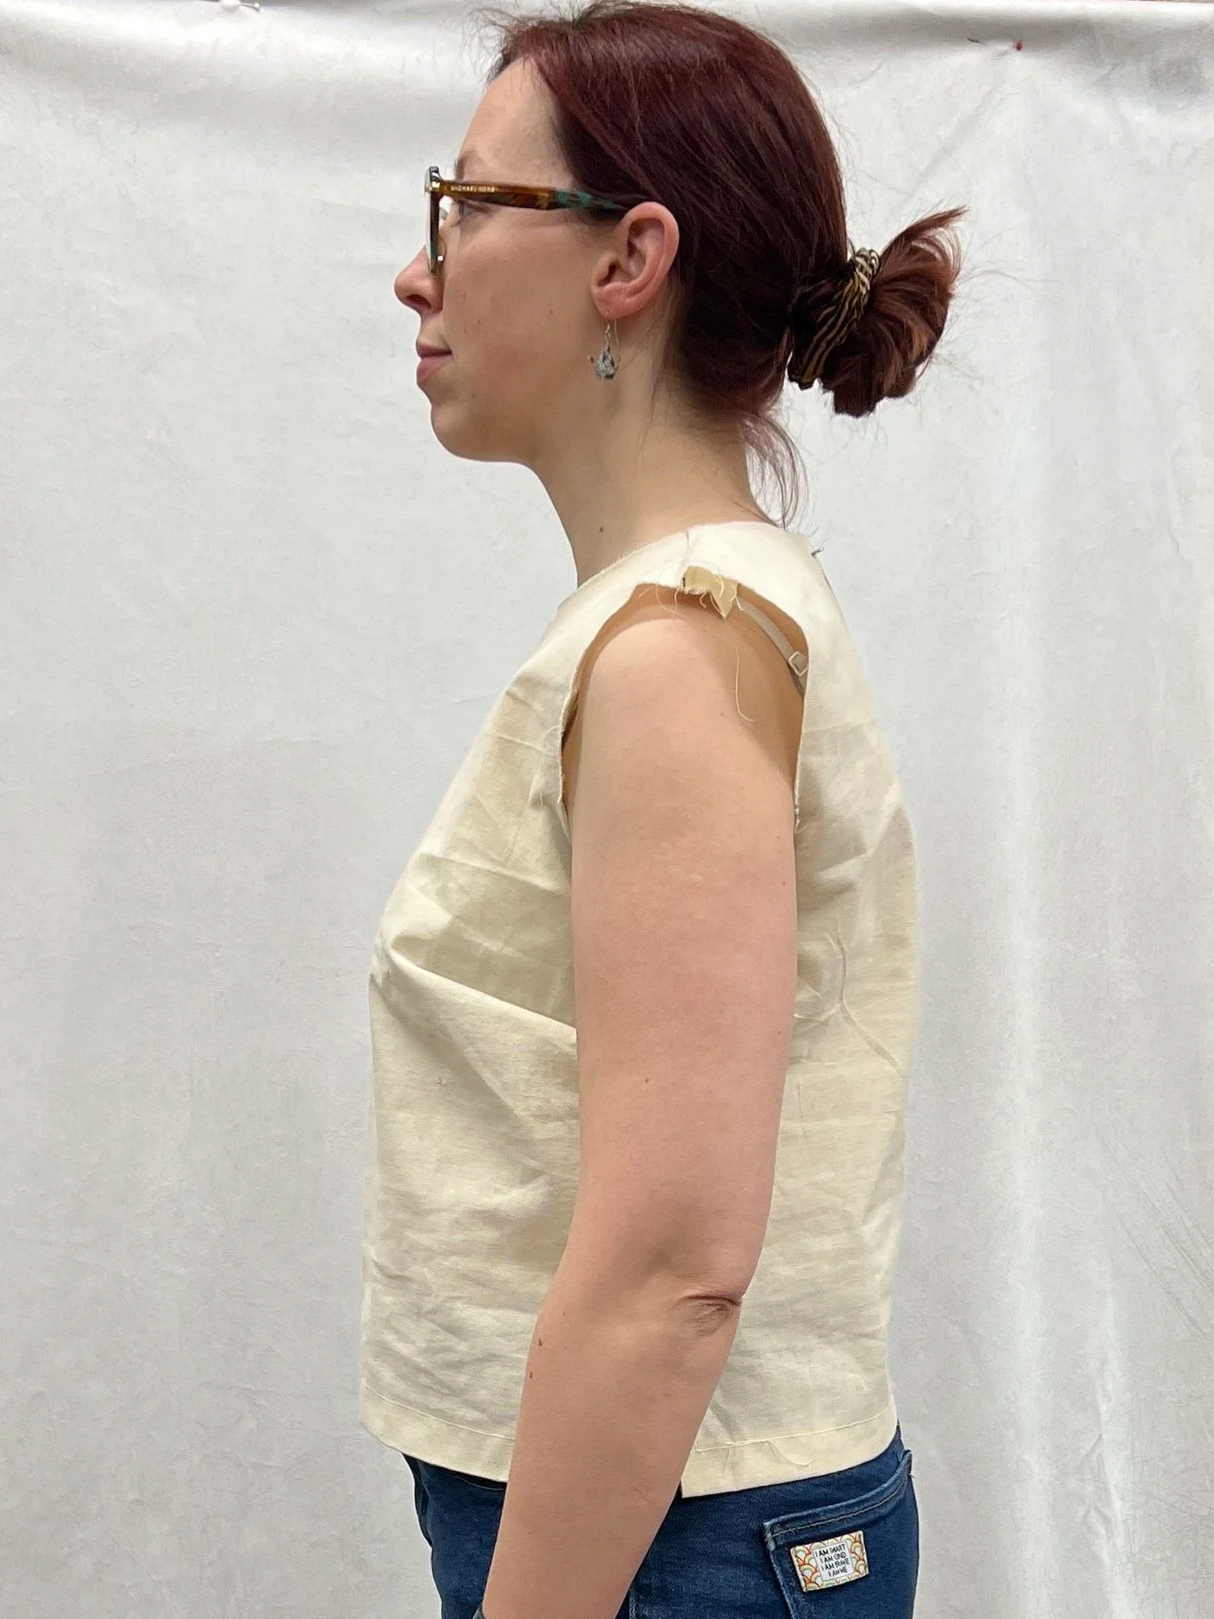
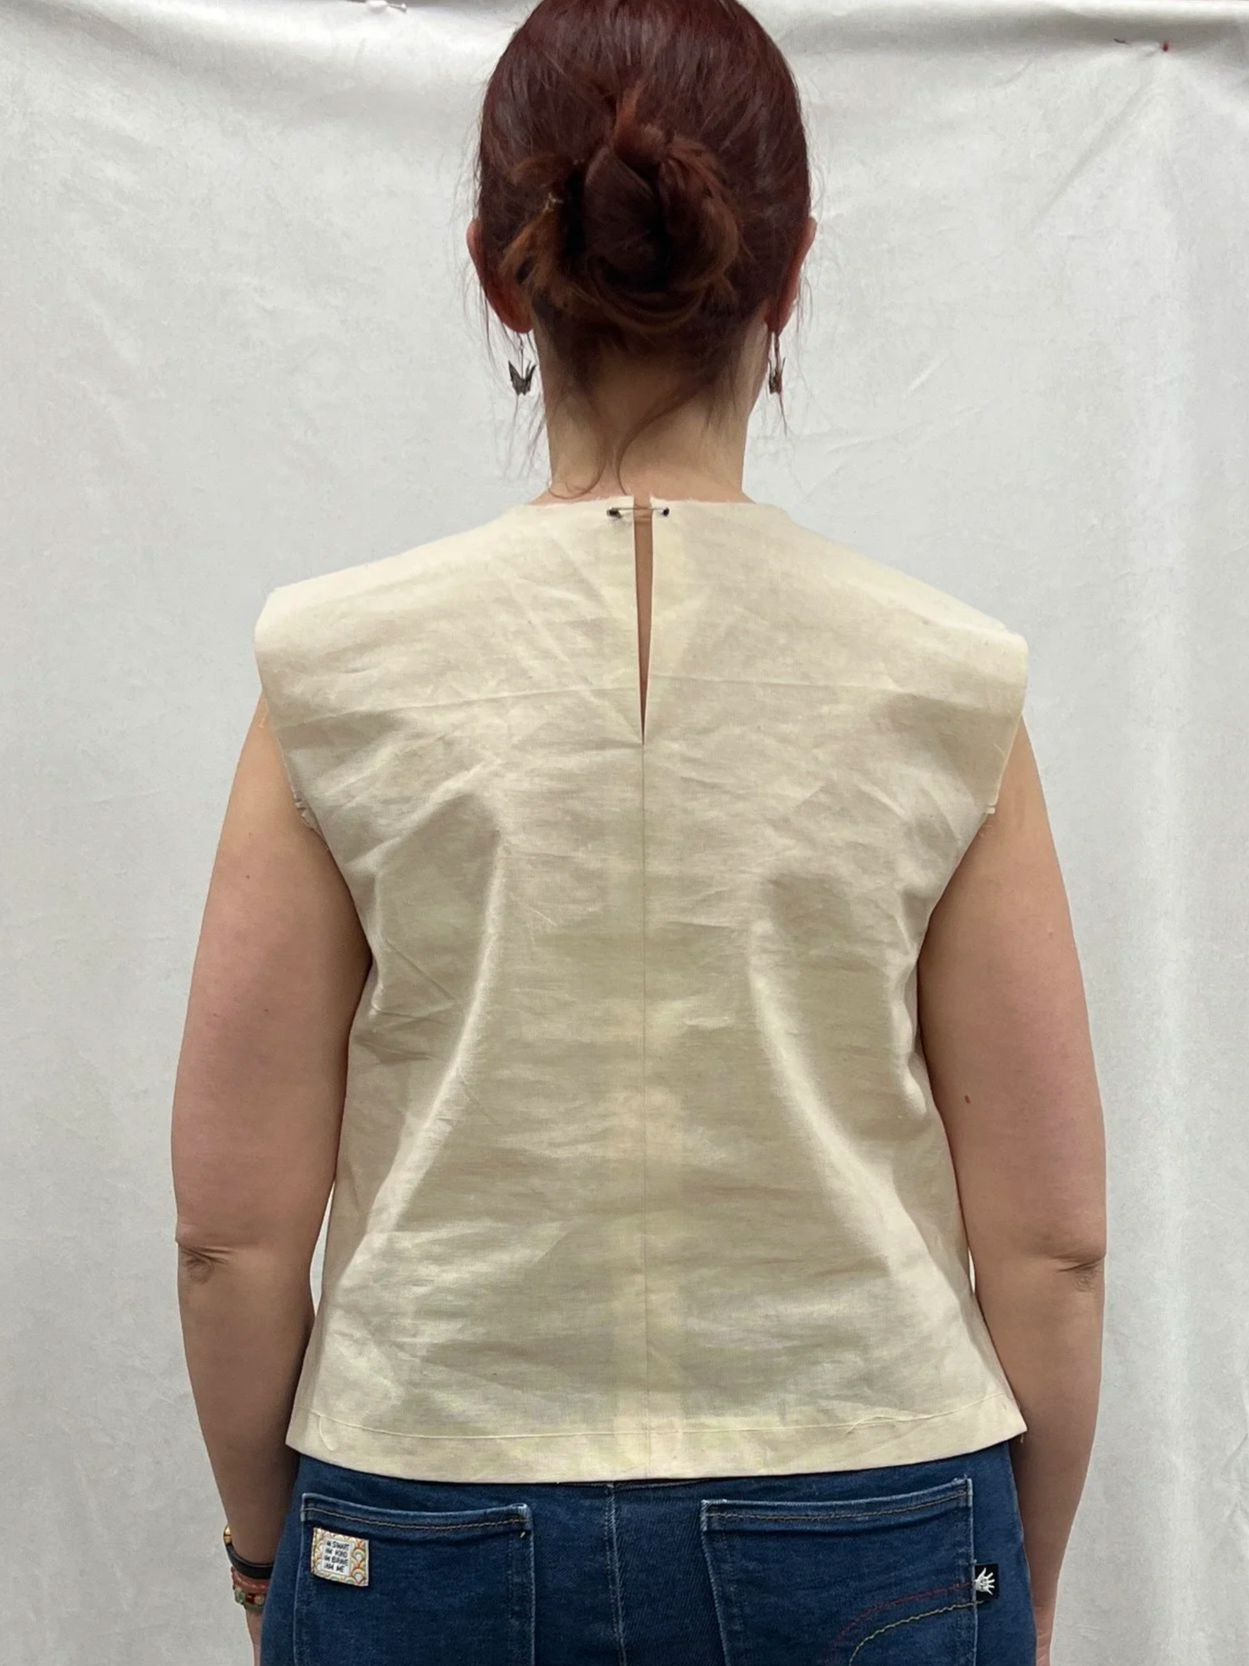
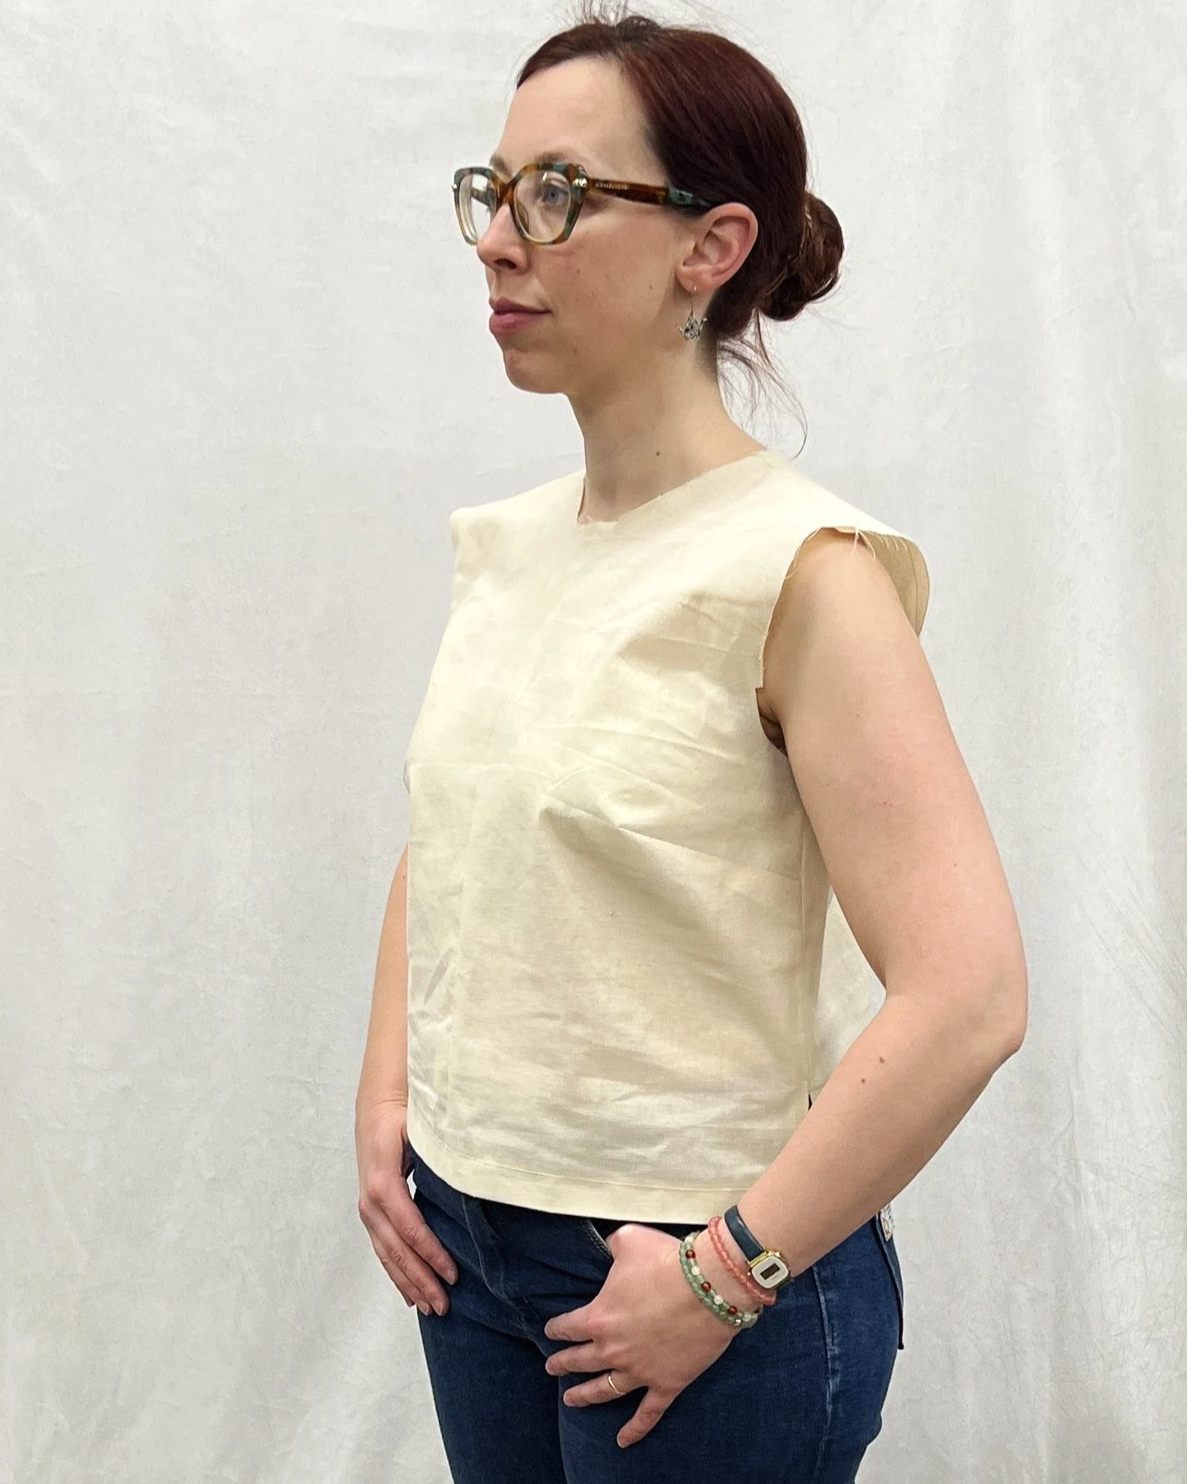
From the photos of the toile above, I noted:
The overall circumference is good with plenty of ease
The garment is balanced and the side seam and hem are straight
The shoulder seam is too far back, the top is pulling up slightly at the back with drag lines pointing to the shoulders
The dart is in the correct position
I would like to round the neckline at the front a little more
I will add 1cm to shoulder height at the back and remove 1cm from the front to reposition the shoulder seam.
I need to remember to adjust the pitch of the sleeve due to this alteration.

How to Assess the Fit…
Throughout the fitting process we are going to be asking:
• What can you see? Describe the fit issue. Can you see pulling or drag lines? Where do they start and where they point to?
• Why is this happening? Try to work out what might be causing this
• How can you fix it? Try unpicking and re-pinning seams to see the effect on your body
Start by assessing how the garment sits on the body overall, focusing on critical fitting points that affect the entire garment's balance.
Follow this sequence for the best results:
Start by ensuring there is enough ease in the circumference to fit comfortably around the body.
Next, begin your fit adjustments at the shoulders, as they provide the foundation of the garment's fit. If the shoulders aren't correct, every other adjustment will be compromised. Is the shoulder seam in the correct place? Is there pulling or drag lines at the front or back of the garment at the shoulder or neckline? If so release the shoulder seam and note the effect of this.
Address length adjustments next. These changes will establish the garment's proper proportions and ensure design elements fall at the intended places on your body.
Finally, make width adjustments to perfect the fit around your body.
Need a little extra guidance?
As part of my Be your Own Designer online course I offer a module to help you achieve a perfect fit with video tutorials, step by step instructions to help you alter the pattern and fit your garment.
The Simple Top course module includes:
Step by step tutorials for alterations to make before toiling
Video fitting guides
Advice on how to do a fitting assessment
Video guides to help you transfer your fit observations and alterations to the pattern including bicep, shoulder and back adjustment diagrams and step by step tutorials
3 pattern “hacks” to try with full video instructions
How to set in a sleeve and sew perfect darts video
How to bind the neckline
Fabric masterclass - how to choose fabrics for Tops
Pattern making checklist, fits assessment chart and many more useful resources
The module is available to purchase HERE
The full Be Your Own Designer course will be available as a self paced online course very soon!
